

first things first lets get the basics out of the way ie: you are going to remove the forks and replace the seal, therefore you are going to need to lift the front of the bike up in the air.How you do this is your choice but i have used a under the yokes paddock stand which must be used in conjuction with a rear stand for security.Now... if you've not used one of these before then you wont know you have to remove the fairings otherwise you WILL crack the nosecone! So bike on rear stand, take the fairings off and lift the front up.Bear in mind you will no doubt come across rusty seized bolts which are usually cap heads (allen key type) and will round off when you try and undo them.
So fairings off and bike on the paddock stand.

next job is to remove the front wheel.So first unbolt the calipers (otherwise the wheel won't come off), if you are only changing one seal then remove the caliper on the side that needs changing.Undo the 2 pinch bolts on the bottom of the right hand side fork leg, then undo the front wheel spindle bush from the RHS and remove, then undo the 2 pinch bolts on the LHS which will enable you to push/pull the front wheel spindle out and remove the front wheel.
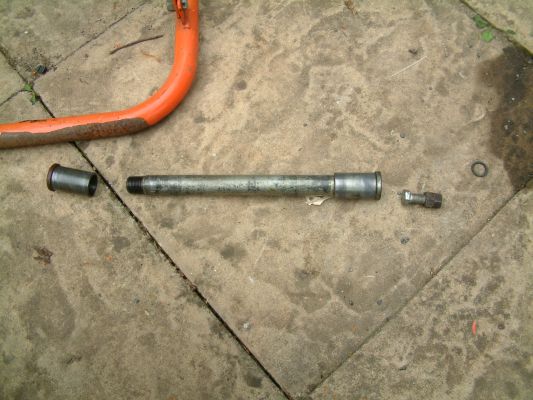
front wheel spindle.
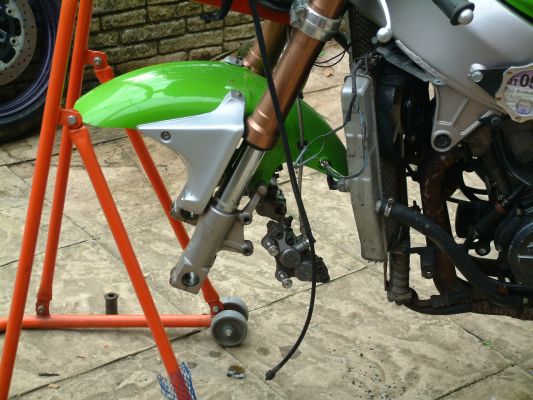
front wheel removed
if you haven't already done so remove the front mudguard.

tip: its a good time now to slacken off the top of the fork leg whilst its still in the yokes (pair of plumbers wrenches does the trick)
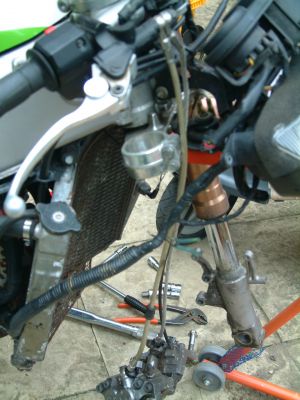
you will then need to undo the pinch bolts that hold the fork leg in, 1 on the top yoke, 1 on the clipon, and 2 on the bottom yoke, then slide the fork leg out.
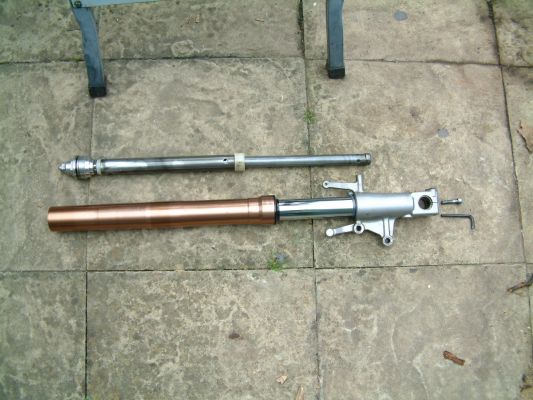
now its time to disassemble the fork leg, unscrew the top of the fork keeping it upright otherwise the oil will flow.make sure you have a suitable container ready to catch the oil.empty the oil out of the fork then turn upside down and remove the bolt (watch out for the gasket washer) from the bottom of the fork leg.you will then be able to remove the internals from the fork leg.
next you will need to prise the dust seal from the fork leg, use a suitable tool, flat blade screwdriver etc and remove the dust seal, then the retaining clip, then holding the bottom of the fork leg and the outer sleeve give a hard pull to split the two.
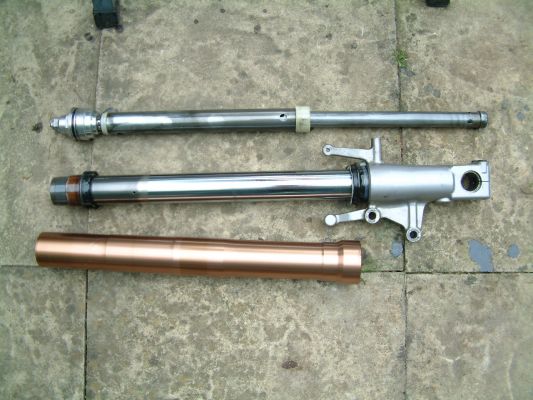
you will then need to remove the outer bush, inner bush, washer and oil seal.it is good practise to place a thin plastic bag over the end of the fork leg before refitting new seals and bushes.
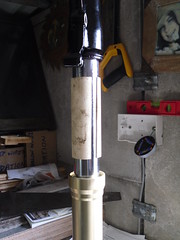
refiiting is obviously a reversal of removal, bear in mind......take care when refitting the outer bush, slide the outer bush onto the leg, with the outer sleeve upright in a vice, drop the fork bottom with all components attached into the sleeve, and now is when you need 3 pairs of hands, get someone to hold the fork bottom half in while you GENTLY tap the outer bush into the sleeve using the washer to ensure it goes in level, i used an old phillips screwdriver which i ground to a flat to tap the washer so as not to damage the washer or fork stancion....this takes a lot of practise and patience (and swearing) you could of course opt for the special kawasaki tool. once the outer bush is seated properly, fit the oil seal, make note when removing which way the seal fits in.then the retaining clip followed by the dust seal.
Turn the fork upright again and reinstall the internals, screwing the top of the fork leg back into the sleeve.NOW is the tricky bit you have to compress the spring completely to reinstall the bolt (including gasket washer) that you removed from the bottom of the fork leg that means you get your fattest friend to lean on the fork whilst you screw the bolt back in...how did i do it? i had the fork upright with the mudguard brackets resting on a pile of bricks then whilst using a fence post as a lever to compress the fork i screwed the bolt back in from underneath, tricky, dangerous and mental! Obviously if you have the special fork spring compression tool its no problem.
then all you need to do is unscrew the top of the fork and fill with the appropriate amount of new fork oil.Then reassemble the bike
JOB DONE!


 ,
, .
.